
 As a mom, I only had naps and after bed time to prepare for the party. So I wanted to make it look cute while keeping prep time down to a minimum.
 Also I didn't have a large budget, so had to home-make most items.
Project 1: Make the Sock Monkey Birthday Hat
Got my FREE sock monkey printables from My Messy Manger. I am SO thankful there is a free option for CUTE sock monkey decoration- Thank you My Messy Manger!!
Place the cut out onto stronger cardboard and tape down (if you printed on regular paper like me). Or you can print on cardboard directly.

For the puff on top of the hat I used some ribbon that I looped 3 times. I hot glued the ribbon in place.

I used double sided tape to put my paper on the cardboard that I already had in my scrapbooking stuff.


Now for the secrete ingredient your going to laugh at. I didn't want to have to go buy a short little piece of elastic. So my husband came up with this rather brilliant idea. Use some elastic off of some old underwear... not sure if he was serious... but I did. And it worked beautifully.

Yes, that will make a funny graduation story some day.

Project 2: Make the Happy Birthday Banner
To save on ink (I live in south america where it is super expensive) I only printed the middle sock monkey face and made the rest of the banner myself.
I had some scrapbook paper that was already the right size to put a 3x5 picture on it. (You can buy this size in the scrapbook section of your craft store).
I laid it all out to make sure I had enough and could arrange it how I wanted.
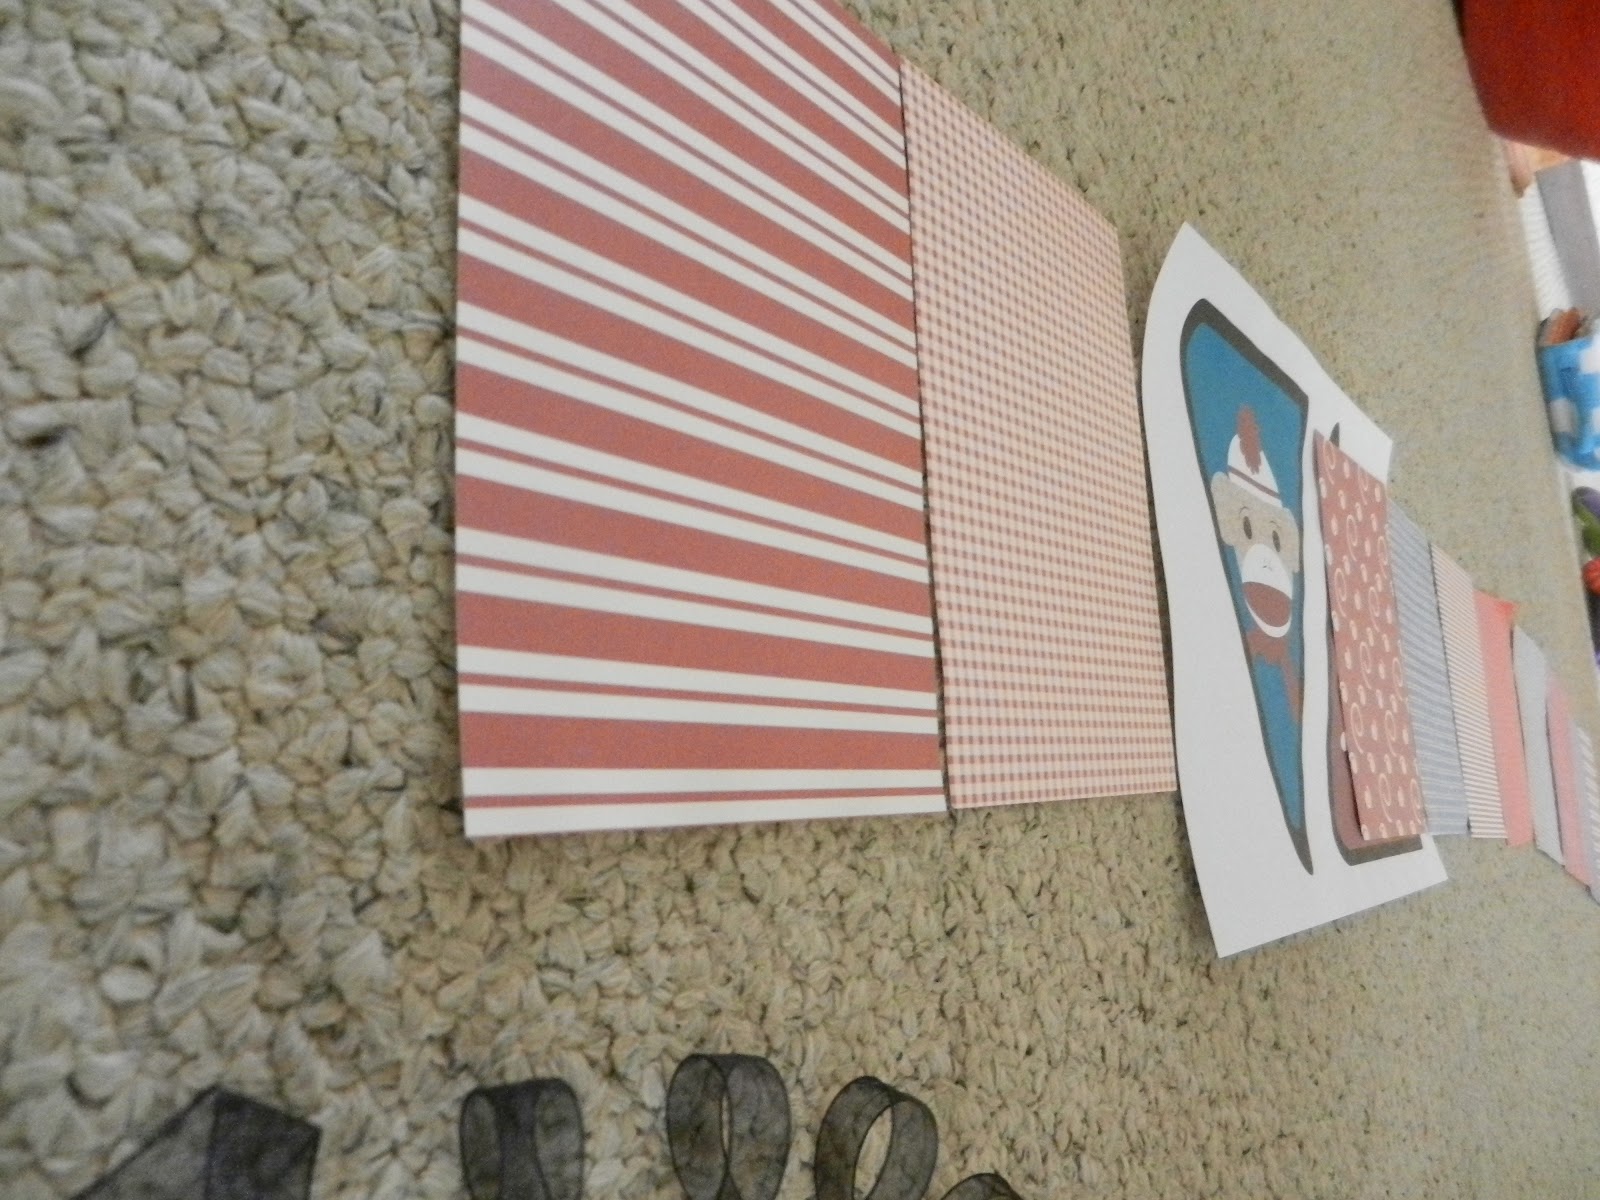
I had some black ribbon that I used to lace through the paper.

I borrowed a Cricut and used black contact paper to create the letters. You could also use really big scrapbook letters or draw them in yourself.
 |
| Husband Model |

Project 3: Make Cute Signs.
I bought sock monkey napkins from Amazon for $7.99. (Had them brought down from the USA in someone's suitcase!)
I opened up the napkin and saw that I could use one napkin for 4 different signs!
The part of the napkin with the sock monkey face I mod podged it to a white square tile.

One of the squares had the words "Sock Monkey" already on it.
The other two squares were blank so I used scrapbook black letters to write "Zane is One!" & "Scoop up some treats".


I mod podged each square on paper so it was firm. Once they dried I placed them in a frame.

The cupcake toppers were also free printables from My Messy Manger!

I bought these red & white paper straws on amazon as well.
The mini coke bottles are all over the place in this country so it was a cheap stylish drink option.

We had banana chips & frozen banana bites dipped in chocolate with sprinkles.


I framed the free printable 'thank you card' and placed it on a table where guests placed their gifts.

This sign was the easiest to make! It is made out of a regular photo frame with scrapbook paper in place of a photo. I wrote on the glass frame with my Chalk Ink markers.

We live in an apartment so I had a buzzer sign made so people who were coming to our house would know which buzzer to push. I made this sign out of the back of the thank you card.
Project 4: Make a Sock Monkey Puppet Station.
I found a wonderful free sock monkey puppet printable from Chikabug Blog.

The 'favor tags' printable I used as a sign to decoration the sock monkey puppet making station. It says "Thanks for monkeying around with me".


Most of the guests wanted to make a sock monkey puppet and we had more people wanting to make one than I had made supplies for!

With the same sock monkey puppet template I also made a door wreath decoration.
I used a hot glue gun to place the sock monkey, bow, and flowers onto the wreath.


Project 5: Make a Photo Booth Station

This is a cork board I painted black last Christmas. I decorated it theme wise like the party.
I was thrilled when I came up with the idea to make a sock monkey mask for the photo booth out of the sock monkey puppet template!
I gathered some lovely wigs I had in my closet for just an occasion. Collected 3 empty frames. Drew some mustaches on tounge depressors. Set up a camera on a tri-pod. Added a couple of stools and wa-la! We had ourselves a photo booth.
 |
| Z wants that coke! |


I had a blast putting this party together.
Have fun making your own sock monkey party. If you put on a sock monkey party I would love to hear about it! Send me the link in the comments!
With joy,

The team at Party Favors does a really good job at providing the best favors for your event. I purchased favors for both of my kids birthday parties. I had peace of mind knowing that everything I wanted was under one roof and delivery was done in a timely manner. If I ever need any party favors again, this would be the company I would go to. Check em out at www.partyfavorsforeveryone.com or call them on 561-750-8380!
ReplyDelete